Flying the Slow Roll - "Slow" really has nothing to do with it!
by Rob Holland IAC 27724 with Scott Westover

The name “slow roll” confuses some students. When you think about it, it’s a rather odd name considering that “slow” really has nothing to do with flying the maneuver. Maybe a better name would be the “complicated roll” or the “master of coordination roll.” They might not look as good on a bumper sticker, but they would more accurately describe this maneuver.
This month we will dissect this basic yet complex maneuver by sharing the mechanics of flying it and highlighting the challenges that I frequently help students work through. At its core, the slow roll is considered basic because it is the foundation of so many maneuvers in the Aresti Aerobatic Catalogue. Knowing that they will build on this foundation inspires most students to work through the difficulty and master the maneuver. It is a complex maneuver because to fly it with precision requires coordination—and practice—to truly get it right.
Let’s start at the beginning. What is a slow roll? It is simply the act of rolling an aircraft 360 degrees around its longitudinal axis without changing heading or gaining or losing altitude. That sounds simple enough, right? Grab your parachute and let’s head to the practice area to see how gravity, lift, drag, and thrust tend to complicate things.
From level flight we push the stick full left. The first thing we will notice is that the airplane starts to roll to the left, but at the same time the nose begins to yaw to the right. This is caused by adverse yaw. The downward deflecting aileron on the right wing is producing a higher angle of attack (AOA) than the upward deflecting aileron on the left wing. While this lopsided lift favoring the right wing helps roll the aircraft, it also creates more induced drag. That drag holds back the right wing, which causes the yaw to the right.
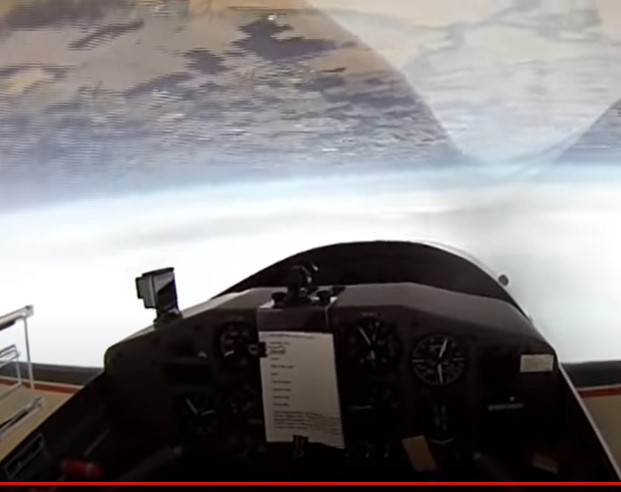
As the plane rolls, the main vector of lift remains perpendicular to the chord of the wing, which means we will be losing our vertical component of lift and adding to the horizontal component of lift. As we lose the vertical component of lift required to maintain level flight, the nose will start to drop and the rest of the airplane has to follow…we start to descend. Remember, at this point we are flying the roll using only full left stick. As we pass through knife-edge flight (90 degrees of bank) and start to roll inverted, we are still carrying a “positive” AOA. However, our lift vector is now directed at the earth below, causing us to lose more altitude and drive the nose further toward the ground. At the same time gravity is helping things along, and we are dramatically increasing airspeed.
I’m sure you can see where this is going. By the time the roll is completed, the aircraft will be dramatically nose-down, increasing airspeed and losing altitude. Some of you may have recognized this maneuver as the good old aileron roll. And you would be right if we had pitched the nose up about 30 degrees above the horizon before we started the actual roll. You can see through this example why that initial change in attitude at the beginning of an aileron roll is so important.
So, how do we roll the plane without this happening? The answer is to use all of the control surfaces at the right time as we roll around the longitudinal axis. Let’s start from the beginning.
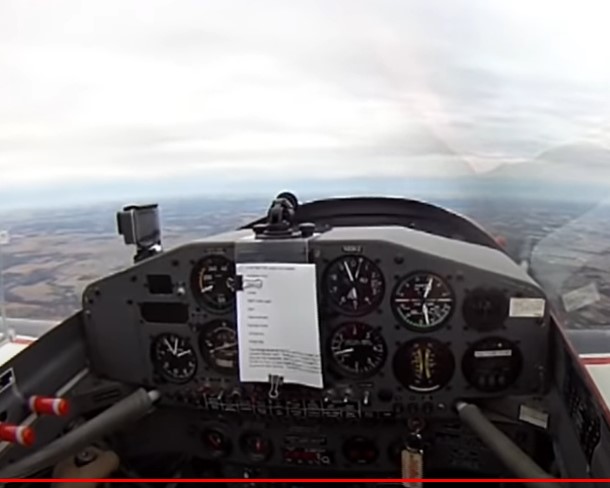
Again, we are at a safe altitude and getting ready to roll left. This time we pick a good reference point in front of the airplane. That point helps us recognize how we need to fine-tune the control inputs to prevent the “corkscrew” we experienced when using only the ailerons a few moments ago. When pushing the stick to the left, it is important to mention that the aileron deflection is really the only “constant” during this maneuver. As we start the roll, we need to counter the adverse yaw described earlier. We do this with the application of left rudder as we apply the left stick to coordinate the beginning of the roll.
As the airplane approaches close to 45 degrees of bank, the loss of vertical lift is going to cause the aircraft to start to descend. We can counter this by now applying some right rudder. Interestingly, we don’t need too much right rudder. Adverse yaw is trying to yaw the plane right, and that is what we are trying to achieve with right rudder. In fact, too much right rudder will cause the nose to yaw too far to the right.

Sometimes pilots new to aerobatics have difficulty understanding that sometimes traditional control inputs have a different effect in aerobatic flight than they do in traditional flight attitudes. For example, while the aircraft is knife-edge, the rudder is in essence acting as an elevator. The fuselage of the aircraft on its side is an inefficient wing and will create some lift if it is at an AOA to the relative wind. Though it’s not a good way to generate lift for a cross-country flight, it is enough to help us maintain altitude for the short time we are knife edge in the roll.
As the roll continues toward inverted, we now need to push to maintain our relationship to the reference point. For lack of a better term, we need to create a negative AOA. We need the bottom of the wing to create a vertical component of lift to maintain altitude.
Now that the airplane is passing inverted, you will also need to maintain right rudder. The ailerons are still deflected for a left roll (left stick), and the wing is at a “negative” AOA. Therefore you need to keep pushing on the right rudder pedal to coordinate the roll and counter adverse yaw inverted. This is because relative to the new negative AOA the rudder is now hinged backward while you are inverted. Therefore right rudder is required to counter the left roll. If you happen to have a model airplane handy, turn it upside down and move the rudder as if the pilot has applied full right rudder. You will see that the effect on the airplane is as if the pilot has applied full left rudder.
As the roll now continues to the 225- to 230-degree point of the roll, you will start backing off the forward pressure a bit and transition to left rudder again. Left rudder is needed as the plane approaches the 270-degree point of the roll (right knife-edge) to again increase the AOA of the fuselage to create enough lift to maintain altitude. As the roll continues back to upright from right knife-edge, make sure you no longer have any forward pressure on the stick so as to not cause the nose of the aircraft to be pushed down as you re-establish straight and level flight. You will also need to increase the amount of left rudder to counter the adverse yaw from the left roll coming back upright.
Whether you are in a fast-rolling monoplane or a slow-rolling Decathlon, push the stick in to the direction of the roll smoothly. Don’t “jam it over” as fast as you can. You don’t want to deflect the ailerons so fast that the air separates from them momentarily. When the roll ends, you can pull the ailerons back to neutral as fast as you want. Just remember, “Smooth in, fast out.”
The roll will always require less rudder at the first knife-edge and more rudder at the second knifeedge. This is because adverse yaw is working with you to keep the nose above the horizon at the first knifeedge. Adverse yaw is working against you at the second knife-edge trying to bring the nose down below the horizon, so more rudder is required to overcome it.
When practicing your slow rolls, reset you g-meter before each roll. When the roll is completed it should read no more than 1 positive g and no more than 1 negative g. This will help you to determine if you are using the appropriate amount of elevator in the roll.
Keep a constant amount of aileron in the roll. If you’re going to use full aileron, keep full aileron till the roll is done. If you are going to use only half aileron, then use only half all the way around.
Happy rolling, and remember that there is no substitute for practice. Be sure to practice within your own limits, and take your time. Come to think of it, maybe the maneuver is called the slow roll because it takes so long to fly well!
Reprinted with permission from the October 2006 issue of Sport Aerobatics magazine
Learn more about aerobatics figures here: Aerobatic Figures | International Aerobatic Club (iac.org)