Setting Trim for Aerobatics
by Gordon Penner, 3-Time Master CFI-A, FAA Gold Seal CFI

I want to stress again that I’m not suggesting there is only one way to set aerobatic trim. There is definitely more than one method. I find most pilots are not aware of what other information is out there. I was also surprised that some of the instructional books didn't address the subject at all.
I only do this to begin the discussion on this subject and to show what is already out there for your consideration. The final choice is up to you. As famous aerobatic coach, competitor, and Aerobatic Hall of Fame member John Morrissey says: “One must remember here that over time an aerobatic pilot will usually find the right method for him/herself in their own aircraft, and that different aircraft makes usually require a different procedure/technique. In other words, I do not believe a ‘one size fits all’ procedure is possible.”
Presented first are the questions that came up about setting aerobatic trim. Second will be the general methods available, followed by different instructor and competitor comments and methods. We will again define zero g trim and neutral point.
One thing all of us in our sport must remember is that the “institutional memory” or “tribal knowledge” in our sport always seems to be decaying. Former IAC Safety Chairman Bruce Johnson said it best, that most people remain in a hobby for about 5-7 years. When people cycle out of our sport, they take their knowledge with them. Also, not everyone comes through the IAC path to become an aerobatic practitioner. The RV community is one example. Even within the IAC our knowledge retention is not perfect, which is a good reason to have these “spirited discussions.”
Question 1 How we should trim for aerobatics? Should we trim for each maneuver to reduce control pressure, like we do for normal flight, or should we set the trim in one place before beginning the sequence and leave it in that position throughout?
Question 2 If we are only going to set one trim position before the sequence begins and then leave it there throughout, what should that position be? Also, what logical reasoning do we use to determine this setting?
Question 3 is an outgrowth of question 2: If we set the trim in one place for the whole sequence, is that setting different depending on what category of difficulty you are flying, or what maneuvers are inside your sequence?
Question 4 is how do we set the trim for training or practice of individual maneuvers, especially if one is new or is a recreational-only flyer?
The consensus from all the instructional books seems to be to set the trim in one place and have it there throughout, if possible.
When I was new, learning recreational aerobatics and to compete in Sportsman in a 150hp Decathlon CS, I was taught to set the trim for 10 mph over book looping speed before beginning the sequence. Looping speed in that model Decathlon is 140 mph. Once set I was to leave the trim there throughout the sequence. I was also taught to put the trim in that same place even when practicing individual maneuvers. That place was marked. That way the “feel” on the elevator would always be the same each time the maneuver was performed.
In his book Flight Unlimited 95, written with aviation author Annette Carson, Swiss and European aerobatic champion Eric Mueller (of Beggs-Mueller emergency spin recovery fame) said the following on the trim subject:
“… With an aeroplane approved for aerobatics but without an inverted fuel and oil system, for instance, I trim it to +1g at the maximum horizontal speed before the start of my performance or training and I do not change this trim until my routine is finished.”
“With real aerobatic machines (appropriate +/- g ratings and inverted fuel and oil systems-ed) normally there is only an elevator trim, which we set for an entire sequence to the zero g trim.”
“To find the best trim position, we must first half-roll inverted, trim the aeroplane so that it flies hands-off horizontally, and note the setting. Then we must trim halfway between hands-off in normal flight and hands-off inverted: we call this the zero g trim.”
John Morrissey noted that some aircraft do not have quite enough nose down pitch trim authority to get all the way to hands off inverted level flight.
In his book “Better Aerobatics,” which I consider to be the top of all the great aerobatic how-to books, British Aerobatic champion and instructor Alan Cassidy agrees with Herr Mueller. He also has the most robust and comprehensive treatment of the subject of ‘The Elevator and Elevator Trimming.’
“There is a very important stick/yoke position in every aircraft where the elevator in fact does nothing, and the wing then has zero alpha and generates no lift (or approx. -3 to -5 degrees AOA on flat bottom wings-ed). I shall call this position the ‘neutral point’ in reference to the elevator control.”
“My preferred method of trimming for neutral point is simply to start a climb, about 45 degrees nose up, from a relatively high speed, fast cruise say, then let go of the stick and look at the accelerometer.”
“…Now move the trim control nose down until the g-meter reads zero and you are effectively weightless.”

John Morrissey – Advanced competitor, aerobatic coach, test pilot, combat pilot
“My technique in a Pitts S-2A, S-1S and S-1T is to set the trim to produce hands off level flight at 180 mph ias. I set the trim tab lever there before engine start and never change it…by doing so I can easily sense the ias of my Pitts by the forward or rear pressure in my hand. I seldom use my airspeed indicator in flight.”
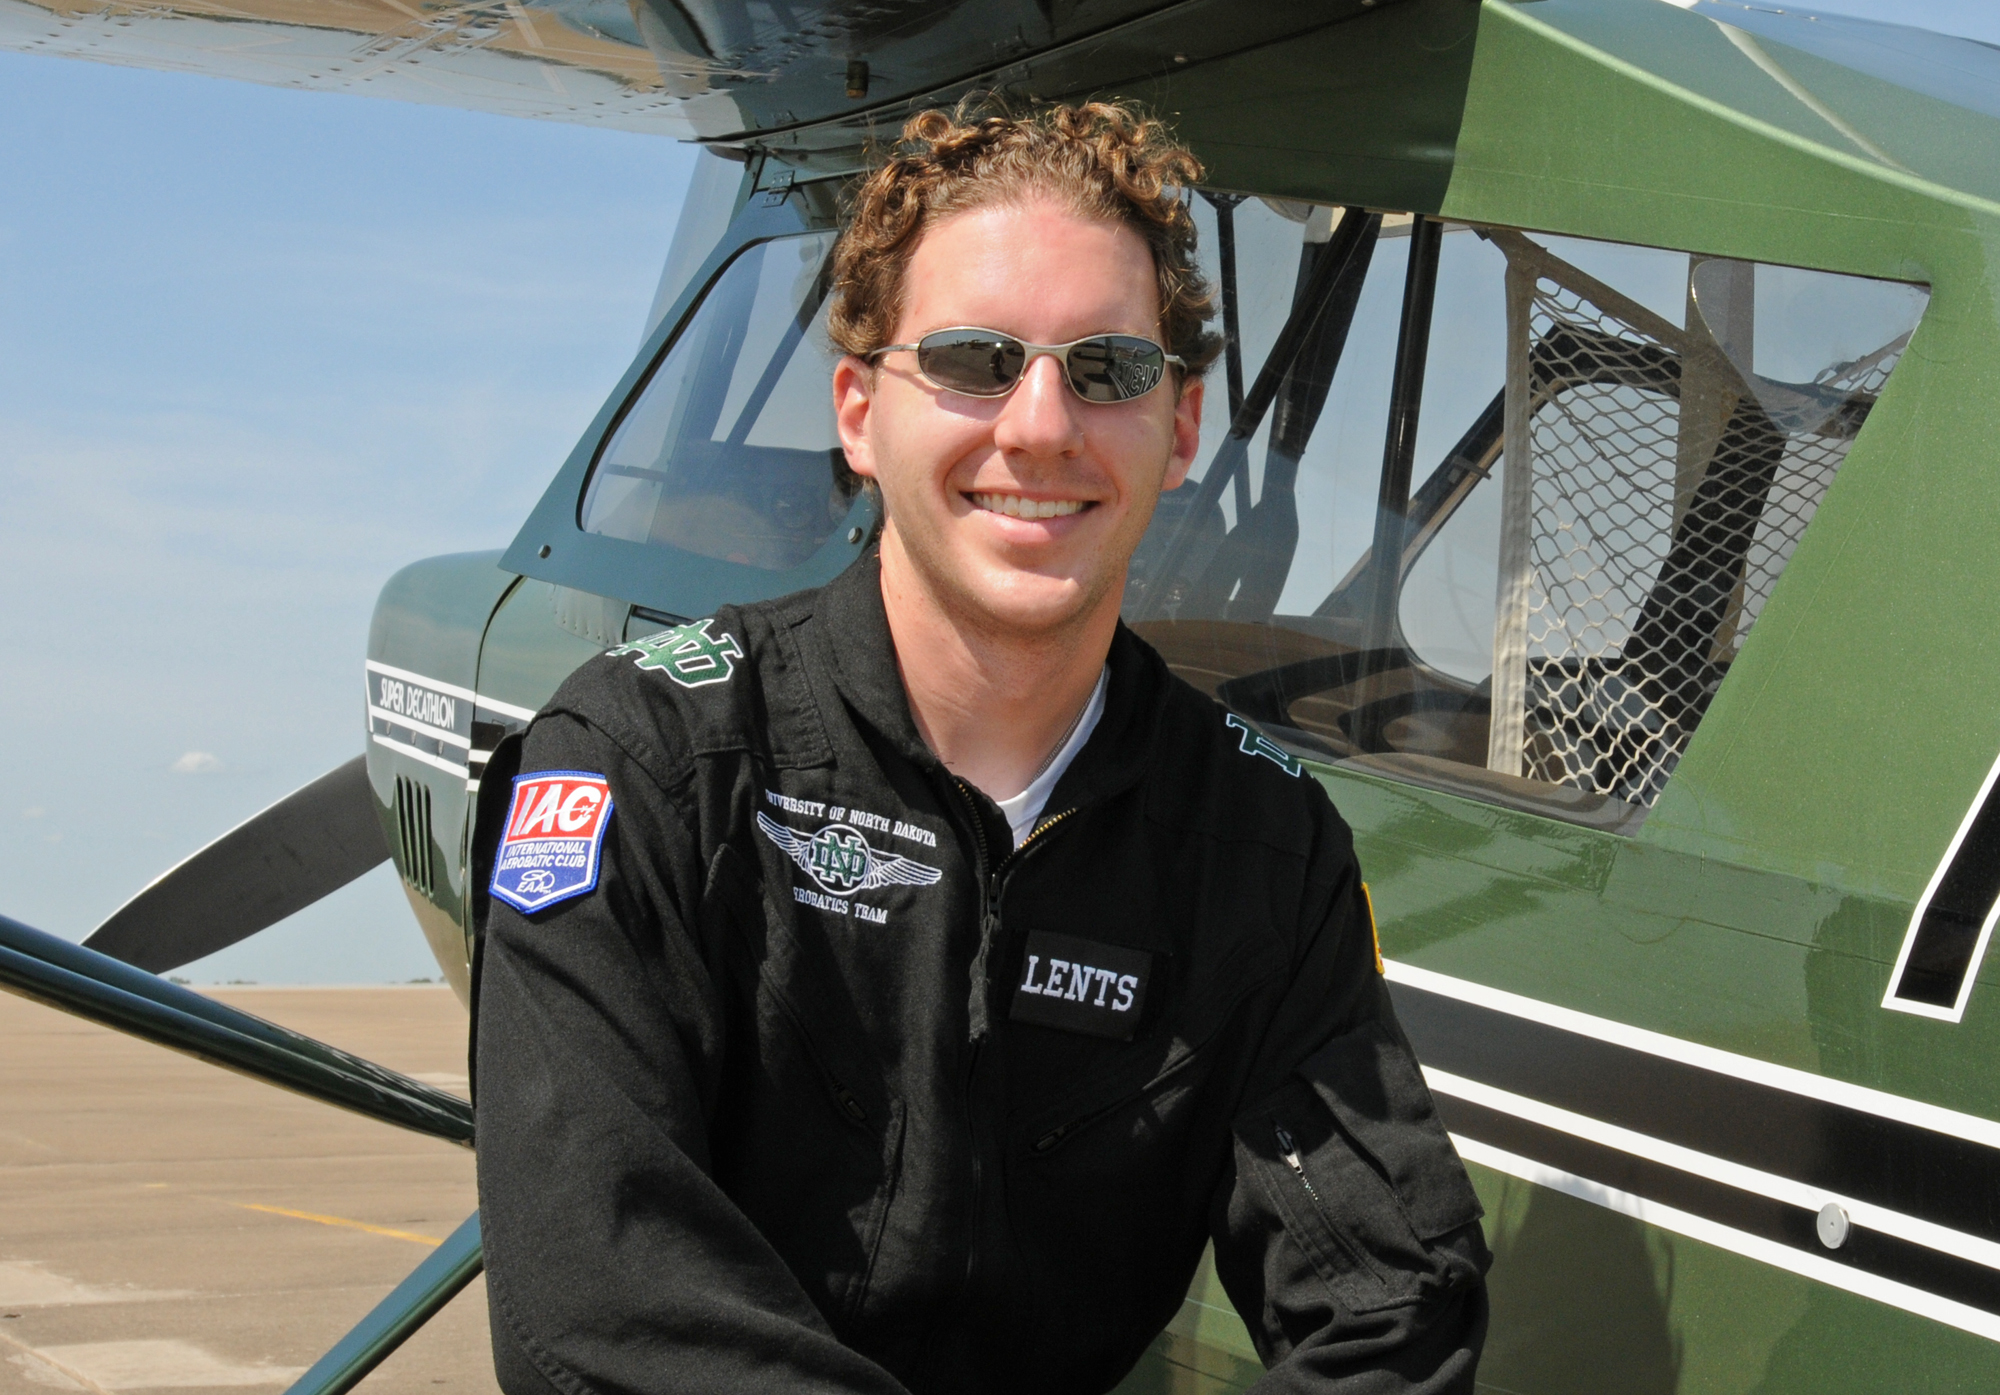
Michael Lents – Assistant Professor – Aviation, UND, Master CFI – Aerobatic
“I like the overall discussion on trim technique and practices. Alan Cassidy does a great job of explaining the issues.”
“My experience is similar to yours. When teaching in the Super Decathlon, I give my students the option of how they want to mentally tackle trim…whether trimming to a specific speed or to the "neutral point," consistency is key to reinforcing muscle memory and expected aircraft performance. The following has been gleaned from personal experience and may differ to others.”
“Specific aircraft are going to have different needs. Ideally, controls should be light during flight in between maneuvers. When considering a specific speed, trimming to about 140-150 mph works well in the Super Decathlon. Rolls are ideally accomplished at 130 mph with loops at 140 mph. In this position, finding the neutral point at knife-edge is significantly easier with less forward pressure required for inverted.”
“Alan Cassidy talks about different trims for different categories based on time spent in level or inverted flight. In the Super Decathlon, the control forces are balanced, but would not be considered especially light. With significant inverted time, having a trim towards the “neutral point” makes inverted flight easier, but demands more work to hold upright. This can become demanding when significant time is spent in Primary, Sportsman and Intermediate. In these cases, most of my students tend toward 130-140 mph for their trim preference. This is not quite to the “neutral point,” but feels close.”
“Additionally, I’ve flown a few Decathlons where the trim friction is not particularly high and will walk back during the course of a sequence. If an aircraft has this issue, check in with a mechanic and be mentally prepared to adjust at a low-workload portion of a sequence.”
“I do not recommend changing trim mid-sequence, but I have had students design some rather interesting sequences where more forward push was needed. They drew up a plan for themselves to attack during their free sequence with a forward trim adjustment to accomplish the maneuver with less effort. The specific maneuver was saved for the end, so they did not need to readjust for another maneuver. It worked, scored well, and I chuckled from the back seat every time.”
“While flying Extra variants and the Panzl, having trim for neutral works well, even in the lower categories as the control forces are very light and assist in finding the proper position for knife-edge and vertical flight. As they are more advanced performers, this helps build the muscle memory for higher categories if competing there is the ultimate goal. Vertical rolls performed without having to hunt for the proper elevator position yields dividends on the scoresheet. Whether trimmed for neutral or a speed, be sure to be comfortable with the forces required at all speeds and attitudes. The more consistency achieved here, the more mental capacity the pilot spends on score multipliers, such as positioning, rather than just surviving the maneuver.”
“Trim is a simple control with surprising complex and nuanced implications.”

Rob Holland – 9-Time Unlimited US National Champion, 5-Time World 4 Minute Freestyle Champion
“I set my trim so on a vertical line I can be hands off and the plane will stay there (in pitch). Makes all the verticals rolls way easier. In my plane in level flight about 180mph it equates to about .4 or .5 gs. So not really zero…but still nose down (but I do set the trim on the vertical to find the neutral point). Once I find it I pull the breaker (electric trim) and its set for aerobatics.”
Steve Johnson – Advanced competitor - US and Int'l, CFI, National and World aerobatic judge
“For myself, I trim to zero-g, like Eric Mueller, with the 2 half rolls. I try to make the elevator feel the same during level upright and inverted flight. This gives me the zero G feel for vertical lines.”
“I never flew an S-2A, but my B did have enough down trim (for zero g). Ray Williams reworked the cabling and pulleys to allow more up throw for down trim. But the Pitts was a much more stable airframe, and I still had to hold some forward pressure, especially when rolling on 45 or vertical down lines. I did have enough down trim for the up line rolls I did. But, I just had to get used to the feel of the “neutral elevator“ position at different speeds.”

“I also put a piece of tape on the side panel for my Acro trim setting in the Pitts, so I could just trim to there, and not have to reset it again each flight. I do the same in my MX now. It has electric trim with a position indicator, and I just put the trim indicator to the same place when I fly Acro.”
“I don’t know that I noticed any difference in how the trim works or feels between the Pitts and the MX, but the MX is much less stable in pitch, and the trim tab is very powerful for the elevator, so I have all the up or down trim I could ever want!”
Ron Schreck - Airshow Pilot, Intermediate competitor, Military and Airline pilot,
“I'm surprised to know that most aerobatic instruction overlooks this subject. My experience is limited as I have only flown my RV-8 in IAC competitions. The RV is not a dedicated aerobatic mount, and the non-symmetrical airfoil means that trim settings can vary greatly from one end of the speed regime to the other. I haven't found that a single setting works throughout the speed range for a typical aerobatic sequence, so I do spend time between figures re-setting the trim to give me a light stick at entry speed. I do this on nearly every figure except spins. I tried to fly with a constant trim setting but found that was giving me an unusually heavy stick in many figures. The electric trim on the RV is quite fast so it really isn't a big deal to set it prior to each figure.”

“I'm not saying that this procedure is applicable to all planes with non-symmetrical airfoils. The Decathlon, for instance, has a non-symmetrical wing but the speed range is much smaller than the RV so perhaps stick forces would be tolerable when a single trim setting is used for an entire sequence. I flew a Yak-55M a few times and found that they make up for trim differential by employing a control stick that is so long that stick forces are minimized. (With a long enough lever you can lift the Empire State Building single handedly!)”
There you have it. I hope that answers the 4 questions to your satisfaction. As we back away from the details and widen out to the big picture, I want to finish with some wise words from John Morrissey:
“Lastly, if one listens to his/her aircraft through fingertips lightly on the stick, toes and balls of the feet lightly on the rudder pedals, lateral pressures sensed through the shoulders atop a thoroughly relaxed torso, through your eyes and hearing the plane will tell you everything you need to know about energy, yaw and angle of attack. If, however, one is holding the stick tightly with pressure on both rudders and a stiff back, with eyes only looking straight forward, none of this information will be available. It is the difference between cooperating with one’s aircraft and driving it like a reluctant and unwilling animal. In the last case, seeking perfect trim selection would be a waste of time.”
Testify, brother John!